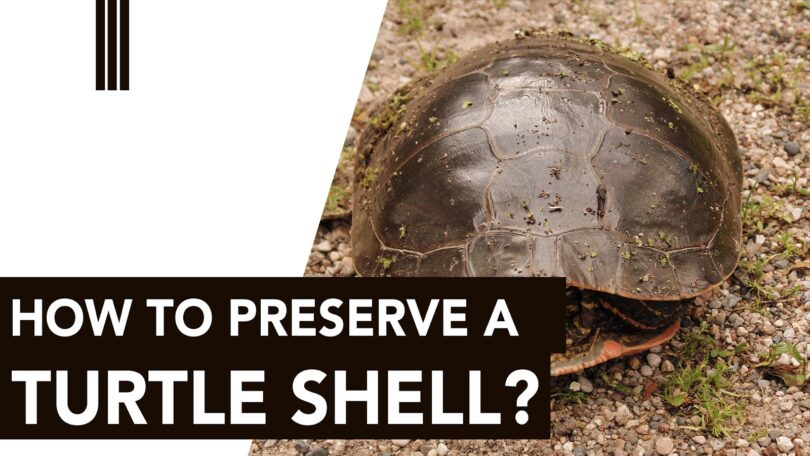
Turtles have been around for millions of years, having a unique shell that protects them from predators and helps them regulate their body temperature. The shells of turtles are made up of bony plates covered with a thin layer of keratin, much like human hair and nails. Turtle shells are an interesting and valuable item for collectors, naturalists, and museums, and preserving a turtle shell requires special care and attention.
How to Preserve a Turtle Shell?
Materials Needed
The materials needed for preserving a turtle shell include:
- A dead turtle
- A sharp knife
- A drill
- Screws or nails
- Wood glue
- Sandpaper
- Shellac or varnish
- Paintbrush
- Clean rags
- Scrapers
- Dremel tool (optional)

Step 1: Cleaning the Shell
The first step in preserving a turtle shell is to clean it thoroughly. This can be done by removing any dirt, debris, or remaining flesh from the shell. If the turtle has been dead for a long time, it may have dried out, making the cleaning process easier. If it is fresh, it will require a lot of scraping and scrubbing to remove all the flesh. Once the flesh has been removed, the shell should be washed thoroughly with soap and water, and then allowed to dry completely.
Step 2: Removing the Keratin Layer
The next step is to remove the thin layer of keratin that covers the bony plates of the shell. This layer is thin and can be easily removed with any sharp knife or readily available scraper. If you have a Dremel tool, you can use it to remove the keratin layer more efficiently. Once the keratin layer has been removed, the bony plates of the shell will be exposed.
Step 3: Stabilizing the Shell
The next step is to stabilize the shell. It is essential to prevent it from breaking or cracking. If the shell has any cracks or holes, they should be repaired before stabilization. The repairs can be made with wood glue and then clamped until the glue dries completely. Once the repairs have been made, the shell should be mounted on a wooden board or stand. This can be done by screwing or nailing the shell to the board, making sure that the board is securely attached to the shell.

Step 4: Sanding the Shell
Once the shell has been stabilized, it should be sanded to smooth out any rough spots or bumps. Sandpaper of different grits should be used, starting with coarse grit and gradually moving to finer grit. Sand the entire shell, taking care not to remove too much material. The aim is to create a very smooth surface that is free of scratches or blemishes.
Step 5: Applying Shellac or Varnish
The final step in preserving a turtle shell is to apply a protective coating of shellac or varnish. This will help protect the shell from dust and damage, as well as give it a nice shine. The coating should be applied evenly with a paintbrush, making sure to cover all surfaces of the shell. It may be required to add multiple coats to achieve the desired look of the shell. Once the coating has dried completely, the shell can be displayed or stored.
The Final Word
Preserving a turtle shell is a very easy process that requires a few basic tools and materials. By following these simple yet long-lasting steps, you can create a lasting tribute to this fascinating creature. The process can be time-consuming, but the end result is a beautiful and unique item that can be enjoyed for generations to come.


